Hub Configuration
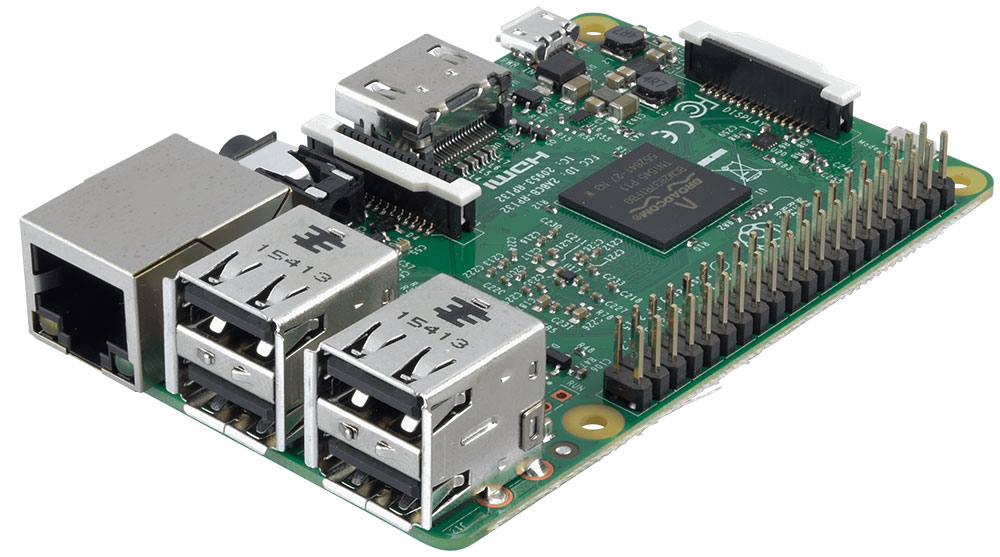
The hub is based on either a Raspberry Pi 3B or 3B+. To set up the hub, the user inserts the SD card containing the control system software, connects the Pi to the local home network via its LAN port, and then powers it up. The user can then access the hub software from any locally connected device running an internet browser, and follow the onscreen instructions to set up the mesh networks. The following are observations and recommendations about the hub, based on our experience.
Raspberry Pi 3B

Total world sales of the Raspberry Pi range is in the region of 20,000,000 units, and the 3B accounts for about 40% of these. Being manufactured in much larger quantities than the electronics contained in any proprietary hub makes it intrinsically more reliable than any alternative.
The Raspberry Pi 3B has the best combination of performance, capability, and price for this type of application. It has a quad core processor running at 1.2GHz, which we have been able to exploit to the fullest extent.
The 3B+ is a direct replacement, but has the benefit of having 20% faster processor than the 3B, dual band WiFi capability (2.4GHz and 5.0 GHz), and the ability to be powered via the LAN connection, instead of a separate 5 volt USB charger.
Network Adapters
Several network adapters have been tested successfully.

These include USB versions, which can be plugged into any one of the four USB ports on the Raspberry Pi 3B, and bare electronics versions, which can be wired to the GPIO port of the Raspberry Pi 3B.
The USB versions are the most convenient to use, because they are simply plugged in to one of the four USB ports on the Pi, and do not require and electronic wiring skills.
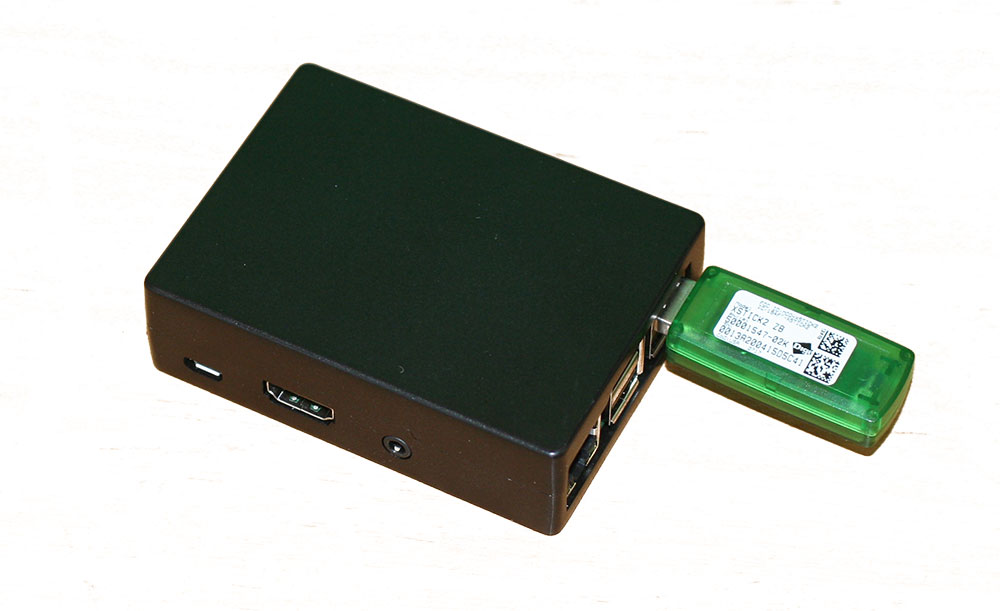
Our preferred ZigBee USB network adapter is the Digi XStick.
To run AlertMe or Iris Gen 1 devices alongside modern HA devices, including Iris Gen 2 devices, then two of these adapters are required. This is due to slight differences between the earlier network protocols and the more recent ones.
Z-Wave networks runs in the 908MHz band in the USA, and in the 868MHz band in the UK and Europe, so they require different network adapters.
Our preferred USB network adapter for 908MHz operation is the Aeotec Z-Stick.
Modified January 27th, 2019
We had recommended the HomeSeer SmartStick for US 908MHz operation, but these have either been discontinued by the main suppliers, or have become very expensive. The SmartStick is still available online directly from HomeSeer for $40.00.
Our preferred USB network adapter for US operation is now also the Aeotec Z-Stick, but the 908 MHz version.
The hub software recognizes all of the network adapters that we have tested, so the user's choice of network adapter is not limited to our preferences.
As part of the installation procedure, the user is prompted to insert each network in turn, and to select its type from a predefined list.
USB Ports & Extensions

The Raspberry Pi 3B has 4 USB ports. The network adapters have been inserted directly into these USB ports for most of the testing.
This is no radio interference between these adapters, but the physical spacing between these USB ports is marginally sufficient to accommodate them. If a system requires only two network adapters, then they can be inserted into two diagonally opposite USB ports.
Most of the adapters can be plugged into adjacent USB ports, either side by side, or one above the other, but this does place a strain on the USB connectors. Although the adapters function perfectly well in this configuration, this is not best practice.
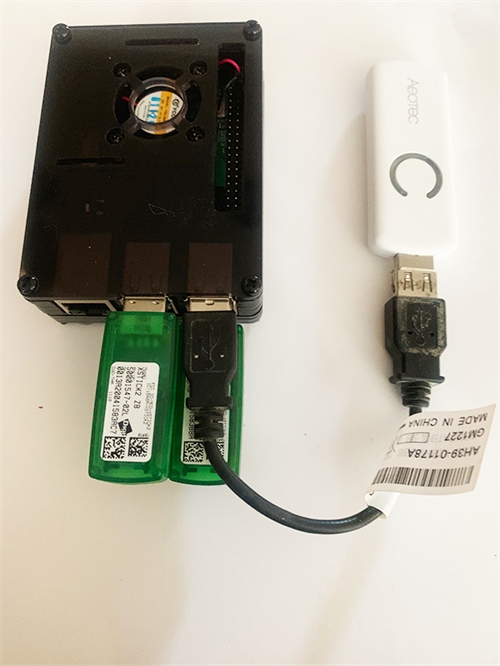
This applies especially when two Digi XStick ZigBee adapters and one Aeotec ZW090 adapter are used. This is the configuration that we have recommended for anyone with a system containing modern HA ZigBee devices, Generation 1 Iris or AlertMe MSP ZigBee devices, and Z-Wave devices.
Modified March 25th, 2019
It is recommended that the two XSticks be inserted directly into the Pi, and that the Aeotec ZW090 be connected via a short (4") USB cable, as shown in this image.
Chargers
The Raspberry Pi 3B requires a separate standard 5 Volt supply via its micro USB port. The amount of power drawn from this supply depends on the number of USB network adapters that are connected to the Pi 3B.
A 3 Amp charger is needed in order to support the maximum load. We have used the Yuconn Micro USB charger, which is available on Amazon in the UK and the USA.
It should be noted that some chargers sold for use with the Pi 3B can only deliver 2 Amps, or less. When overloaded, the voltage supplied by these chargers falls below that required by the Pi and the network adapters.
A 5 Volt / 3 Amp battery pack can be inserted into the power supply to act as an uninterruptable power supply to keep the hub operational for several hours in the event of a mains power failure. This is not essential for continuity of operation, because the hub automatically resumes its correct operation following a loss of power.
Enclosures
A wide range of enclosures are available for the Raspberry Pi 3B. Most of them, if not all, expose the USB ports, so that devices can be simply plugged into them externally, and without the user having to open the enclosure.
Having one or more network adapters projecting out of the end of the Pi is not the most aesthetic design. It does maximize the range of the network transmissions, ensures that the adapters are kept cool, and it makes it very easy for the user to install them. The importance of the aesthetics obviously depends on the location of the hub.

Keeping the Pi processor cool within the enclosure is far more important, due to the amount of heat that it generates. For this reason, the cheaper plastic enclosures without any cooling should be avoided.
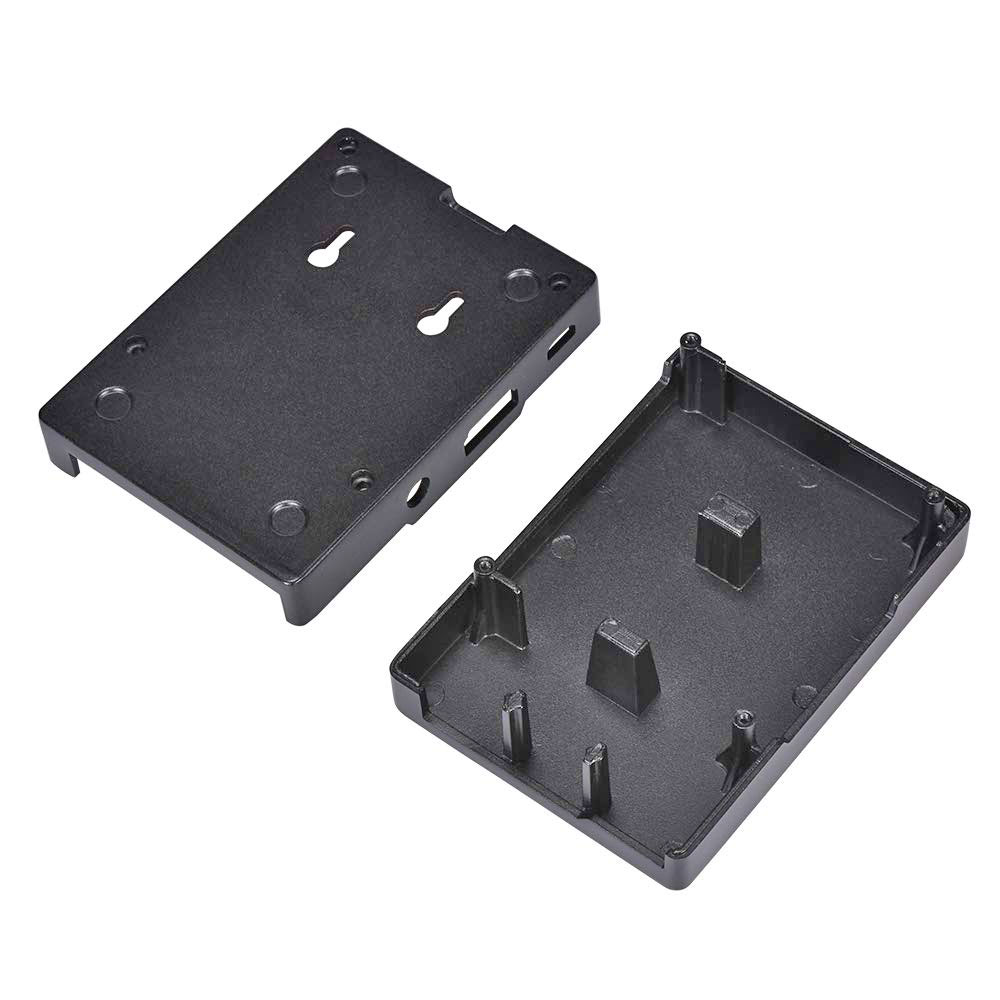
The Pi components can be cooled by a fan within the enclosure, or by conduction cooling. We prefer the BIQU enclosure. It is manufactured in cast Aluminium, and the heat is conducted out from the components to the surface of enclosure by posts that are part of the enclosure.
The posts stop short of the surface of the components, so a small drop of MX-4 Thermal Compound Paste is put between the surface of the component and the end of the cooling post to complete the thermal path.
We recently observed the importance of this paste with heat sinks on Intel processors in some older computers. These processors were reporting abnormally high temperatures, in excess of 90 degrees C. The thermal paste between the processor and the heat sink had dried up. When we scraped off this paste and replaced it with fresh paste, the temperature dropped to less than 55 degrees C.